Phone Book Target
by Chris on Mar.04, 2012, under Archery, Main Page
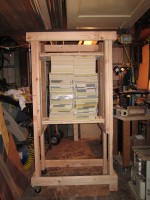 Since I started shooting again last year, I have wanted to build myself a target that I could use to shoot at home when I don’t have time to get to the range. I have several different places where I can shoot: Inside the garage I can get about 6 yards, enough to practice form and do paper tuning, etc; Across the back yard (North-South) I can get 13 yards, shooting toward the concrete wall between our yard and our neighbors; And along the side of the house I can get about 30 yards depending on where I stand. This last option will require me to get some kind of a back drop which could stop an arrow should I suffer an equipment malfunction, which I haven’t come up with yet. So until I do, I can still use the other two options.
A long time ago I had a foam target which I used, but it got shot out pretty fast and eventually started letting arrows pass through it, which of course is unsafe and made my neighbors unhappy. I needed something that would last a long time, be fairly cheap to build, and could be portable enough to move around wherever I wanted it in the yard or garage.
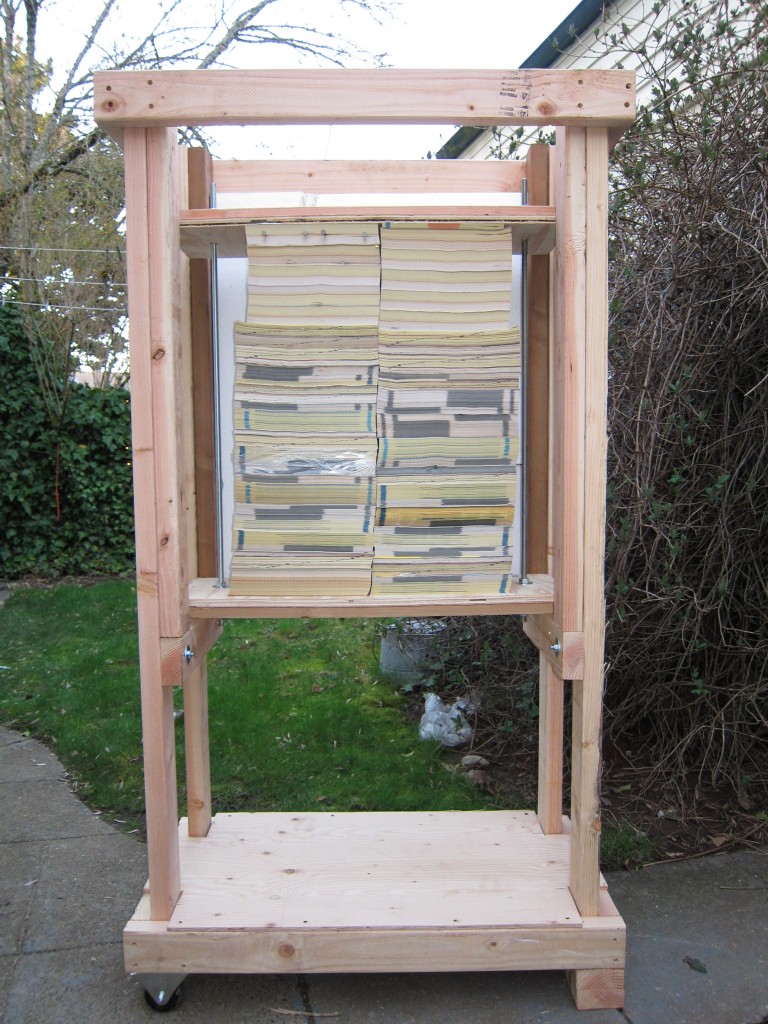
The first thing I needed to do was to decide on the material for the bale itself. Eventually I settled on phone books under pressure. When I was a youngster, The Nock Point up in Seattle used phone book bales and I remembered them working really well. Plus, phone books have the added benefit of being free!
I found some good instructions for building the compression shelf here, and then I more or less made up the stand as I went along. Total cost for the project was about $60, not counting a few bits which I had left over from other projects.
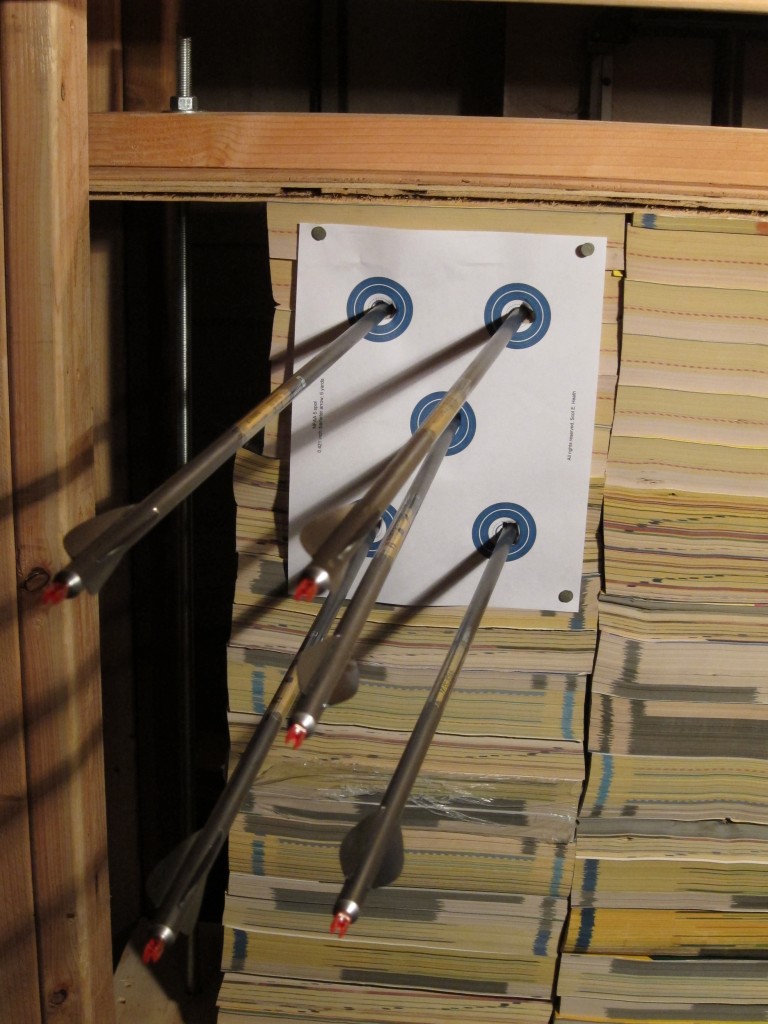
I started shooting at it on Friday and put the finishing touches on it today. I have to say, it works great! It stops the arrows dead in five inches (at six yards, less from farther away), yet the arrows pull out easily, and since I’m shooting into the books from the end (toward the spine), the pages more or less separate and do not get damaged. This means the they should last for a long time. The arrow holes almost completely close up after about thirty minutes, and even when I put the arrows in the same holes over and over again (which happens a lot at six yards) it still stops the arrows dead.
Click through for full instructions and building materials if you are interested.
These materials differ slightly from what I actually used (and what you will see in some of the photos below), because I made a few mistakes along the way. If I had followed the fuzzy plans in my head correctly, the materials below are what I would have needed.
This target stands about six feet high. If you wanted to make it a bit shorter, you could do so and save some 2×4′s.
Building Materials
| Phone Books | 20-30 (30″ stack) |
| 2×4’s | 6 (7 to be safe) |
| Plywood – 3/4″ x 31″ x 10″ | 2 |
| Threaded Rod – 1/2″ x 36″ | 2 |
| Nuts / Washers – 1/2″ | 6 each |
| Carriage Bolts – 3/8″ | 8 |
| Nuts / Washers – 3/8″ | N = 8 / W = 16 |
| Wood Screws – 2″ | 1 lb. |
| Wood Screws – 1″ | 1 lb. |
| Wheels – 3″ | 2 |
| . | |
| Optional Materials | |
| Plywood – 1/4″ x 4′ x 4′ | 1 |
| Plywood – 1/4″ x 31″ x 17″ | 1 |
| Insulating Foam – 4″ x 31″ x 36″ | 1 |
| . | |
| Tools | |
| Skill Saw | |
| Drill (Or Drill Press) | |
| Forstner Bit – 9/16″ | |
| Square | |
| Pen/Pencil | |
| Crescent Wrench | |
The Compression Shelves
- Measure the width of the two phone books and add 12 inches. (Please note that the books in the photo are a bit narrower than most of the the ones I actually used.) This came out to 31 inches for me.
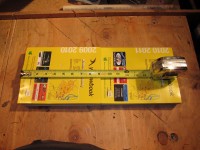
- Cut two pieces of 2×4 to this length.
- Measure the depth of the books and add 2 inches. This came out to 10 inches for me.
- Now cut the two pieces of 3/4″ plywood to be the top and bottom pieces of the compression shelf. (My plywood pieces were 31″ x 10″.)
- Center and attach one 2×4 on each of the pieces of 3/4″ plywood. These will be the compression shelves.
- Clamp both shelf pieces together and drill a 9/16″ hole all the way through both parts.
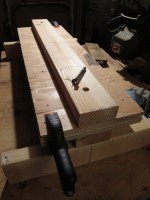
- Cut two 17″ pieces of plywood. Center and attach to each end of the bottom shelf piece. These will be used to attach the shelf to the stand.
The Stand
- Cut four 17″ pieces of 2×4.
- Cut four 31″ pieces of 2×4.
- Build a frame for the top and bottom of the stand. Be sure to set the shorter pieces inside the longer pieces.
- Cut four 65″ pieces of 2×4. These will be the uprights for the stand. Attach these to the inner corners of the frames with wood screws. Then drill a 3/8″ hole and secure the uprights to the bottom of the frame using 3/8″ carriage bolts.
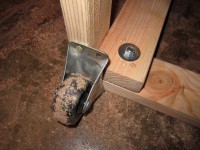
- Attach the wheels to one of the narrow ends of the stand, so the wheels are 90 degrees from the angle of shooting. This will allow you to roll the target around but will prevent it from moving when it is shot.
- Cut four 4″ sections of 2×4. These will be the stands for the opposite side from the wheels. (Two 2×4’s stacked on top of each other worked for me, but you may need to add a little or sand a little down in order to get the right height.)
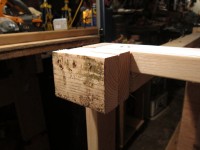
Attach the Bottom Shelf to the Stand
- Measure down 36″ from the bottom of the top 2×4 frame, and mark both sides. This is where the bottom shelf will be.
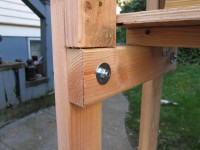
- Attach the bottom shelf support to the outside of the uprights with wood screws to hold the shelf in place, then drill a 3/8″ hole through the shelf support and uprights. Attach the shelf support to the uprights using 3/8″ carriage bolts. (Note in the photo that I put my shelf support on the inside of the uprights. This was a mistake, and made my stand wider than it really needed to be.)
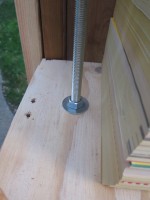
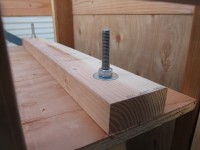
- Fit the all-thread rods through the holes in the bottom shelf and attach in place using a nut/washer on both the top and bottom sides.
Optional Assembly
I doubt very much that an arrow will shoot through the phone books, but just on the off chance I decided to put a piece of 1/4 plywood on the back. I also decided to glue some foam on the inside plywood (left over from a Halloween project), just as an extra barrier between the phone books and the plywood. Carbon arrows don’t always stand up to plywood so well!
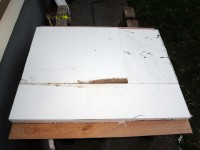
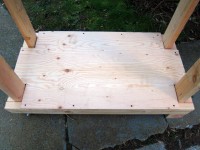
I also cut a piece of 1/4″ plywood to make a floor on the bottom.
March 6th, 2012 on 3:13 pm
Good job ! ! ! Looks wonderful. Great article.